通过web端成功连接数据库后,接下来尝试制作一个登录模块。本文参考博主HeartCloud的《JavaWeb连接MySQL数据库》的第三部分,并在此基础上增加了一些自己的特色。
这位博主有部分内容没有提及,导致我在编写的过程中走了些弯路,在此会将参考博文里的一些坑拿出来讲。
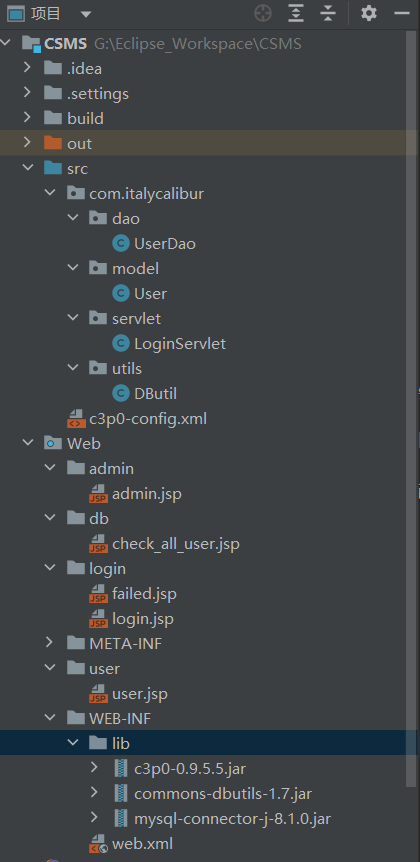
创建包、导入库和给jsp做分类
今天下了专业版的IDEA,把Eclipse的项目转移到了里面(还是习惯JetBrain系列的码字,自动提示做得非常舒服),所以之后的操作都在IDEA里实现。
在WEB-INF的lib文件夹导入之前准备的库(即jdbc、dbutils和c3p0)
在Web文件夹中新建目录admin(放管理员平台界面,admin.jsp)、db(放数据库操作界面,check_all_user.jsp)、login(放登录界面,login.jsp和failed.jsp)、uer(放用户平台界面,user.jsp),注意不要新建在WEN-INT当中!
在src中新建包名com.italycalibur(包名自己随意),里面要包括:dao、model、servlet和utils。
每个包里各新建一个类:UserDao、User、LoginServlet、DBUtil。
各包的意义如下:
dao:数据访问层,作用是封装对数据库的访问。
model(entity):实体层,作用是封装实体结构。
servlet:使用Javax.Servlet包的类,主要功能在于交互式地浏览和修改数据,生成动态Web内容。
utils:工具层,这里主要是导入自己写的DBUtils包。博主的代码涉及到了这点,害得我找了半天才发现需要自己手动配置(恼)。
最后不要忘了需要在src里面新建c3p0-config.xml文件,这是涉及到dbutil能否正常读取数据库的功能。
c3p0-config.xml的内容
1
2
3
4
5
6
7
8
9
10
11
| <?xml version ="1.0" encoding= "UTF-8" ?>
<c3p0-config>
<default-config>
<property name ="driverClass" >com.mysql.cj.jdbc.Driver</property >
<property name ="jdbcUrl" >jdbc:mysql:///shop</property >
<property name ="user" >root</property >
<property name ="password" >123456</property >
</default-config>
</c3p0-config>
|
以上操作最终效果:
编写jsp文件
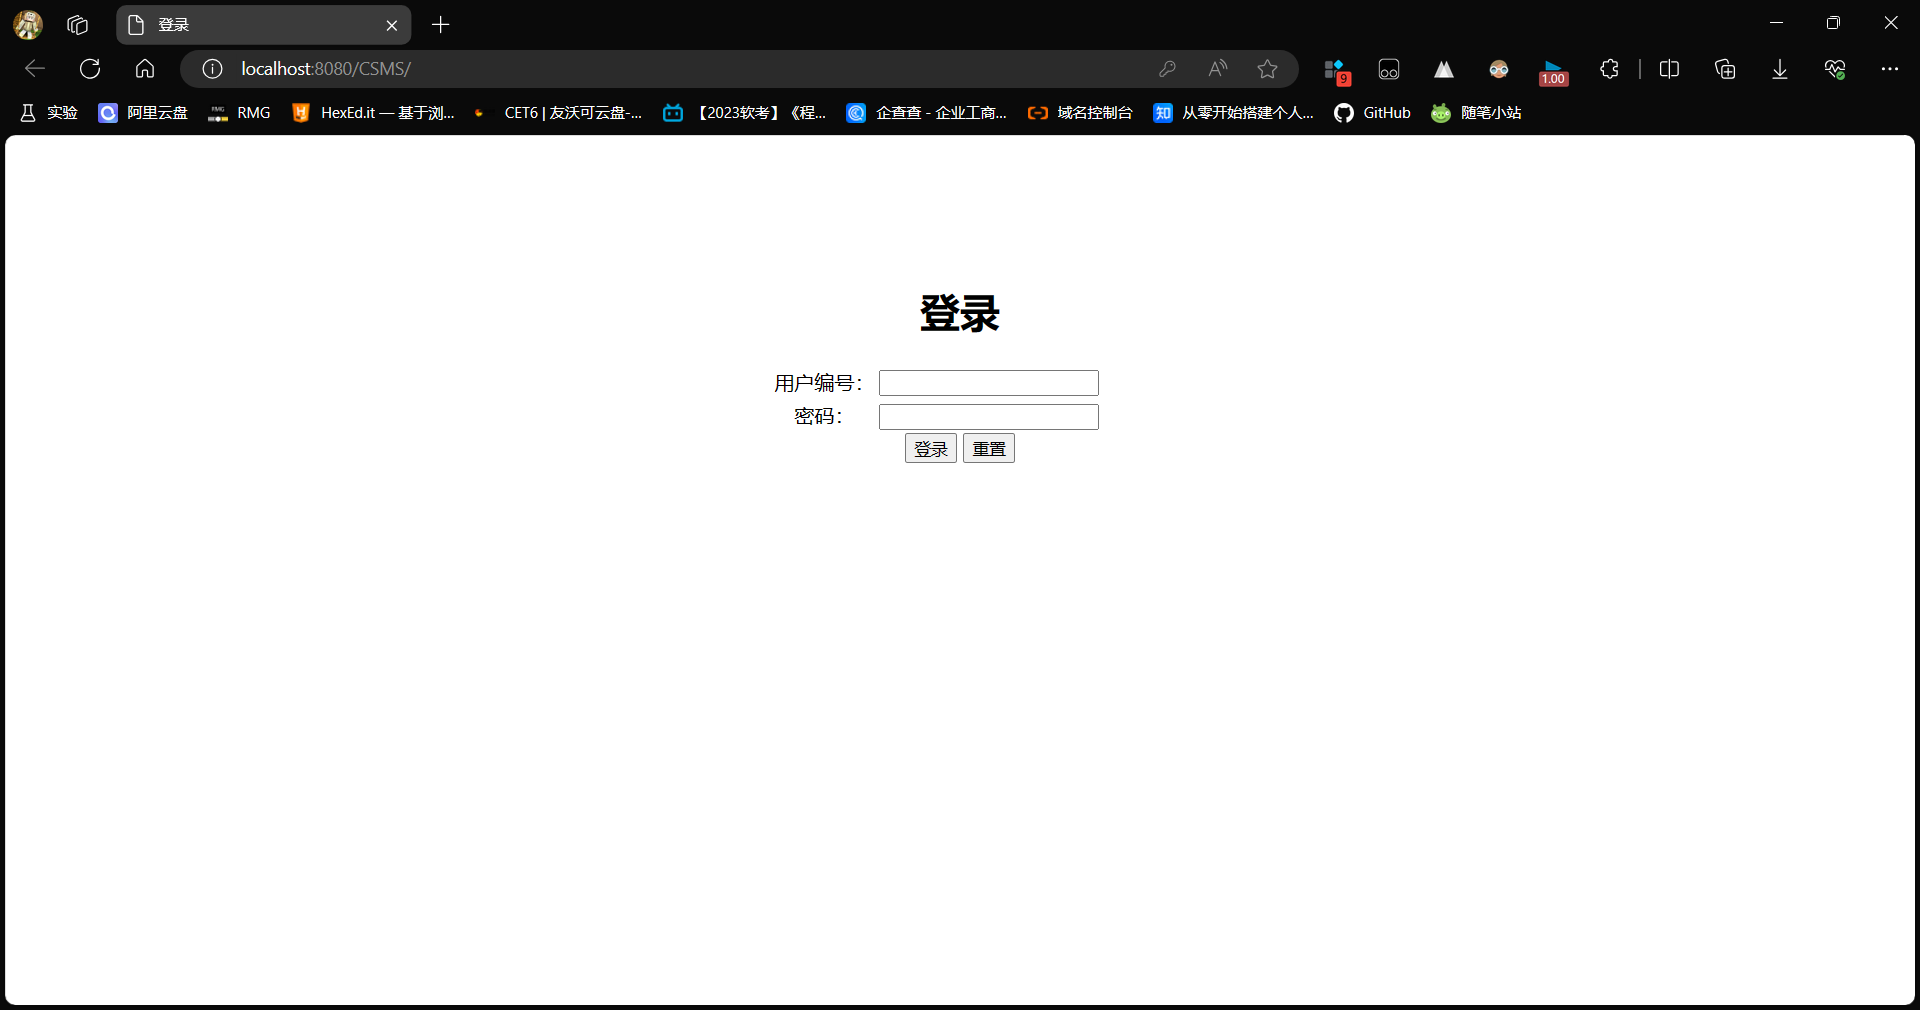
login.jsp
1
2
3
4
5
6
7
8
9
10
11
12
13
14
15
16
17
18
19
20
21
22
23
24
25
26
27
28
| <%@ page language="java" contentType="text/html; charset=UTF-8"
pageEncoding="UTF-8"%>
<!DOCTYPE html>
<html>
<head>
<meta charset="UTF-8">
<title>登录</title>
</head>
<body>
<div style="text-align: center; margin-top:120px">
<form action="LoginServet" methord="post">
<table style="margin-left:40%">
<h1>登录</h1>
<tr>
<td>用户编号:</td>
<td><input name="uid" type="text" size="21"></td>
</tr>
<tr>
<td>密码:</td>
<td><input name="password" type="password" size="21"></td>
</tr>
</table>
<input type="submit" value="登录">
<input type="reset" value="重置">
</form>
</div>
</body>
</html>
|
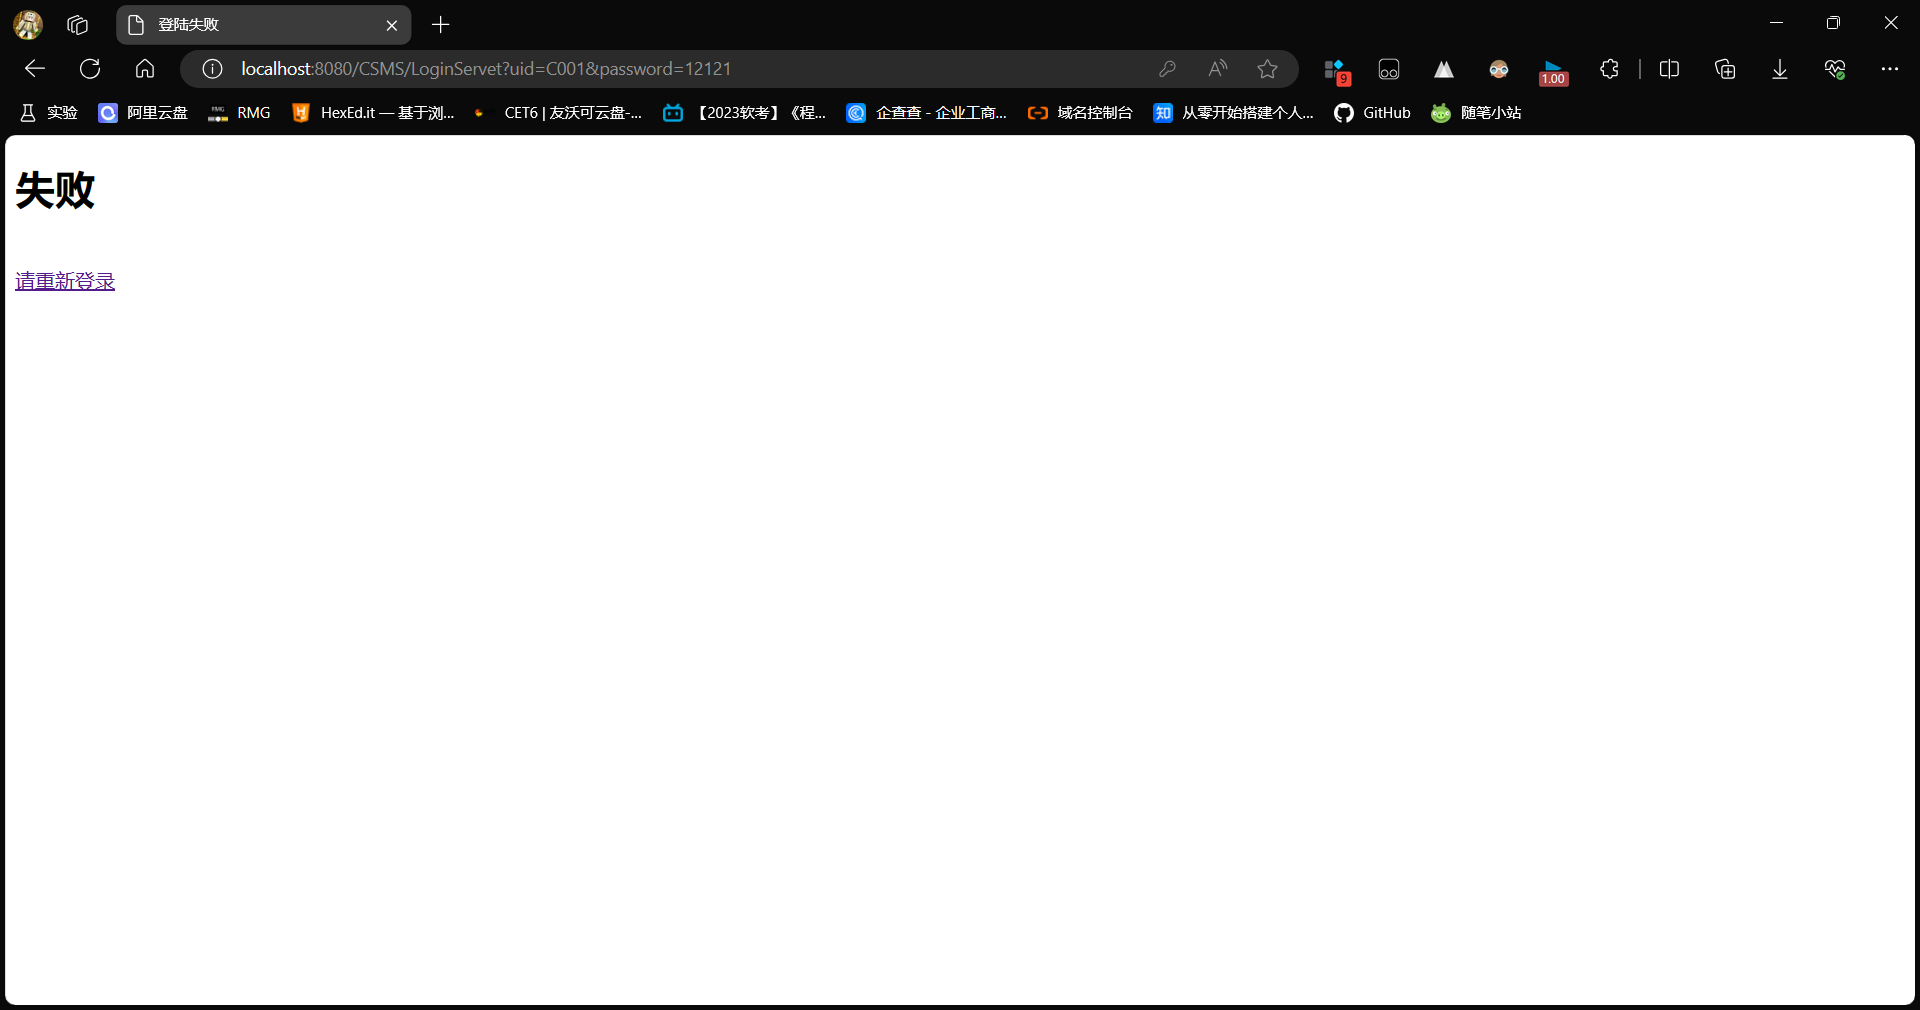
failed.jsp
(7月26日:发现一个Bug——第一次登录然后失败点击返回登录界面再次失败点击返回时会出现404错误,后来发现是网址路径出现了问题,查阅资料后发现可以通过返回上次窗口的方式来解决这个问题,这就会涉及到JavaScrips的代码。终于明白了要想搞网络开发,除了学会后端的Java,还要至少有JavaScrips、HTML、CSS等前端基础,甚至还要学xml……至于网页美化,那就交给UI设计方面的大触吧,我至少做个是个人能用的就行。)
1
2
3
4
5
6
7
8
9
10
11
12
13
14
15
16
| <%@ page language="java" contentType="text/html; charset=UTF-8"
pageEncoding="UTF-8"%>
<!DOCTYPE html>
<html>
<head>
<meta charset="UTF-8">
<title>登陆失败</title>
</head>
<body>
<div style="text-align: center; margin-top:120px">
<h1>失败</h1>
<p>请重新登录</p>
<input type="button" value="返回登录界面" onclick="history.back()">
</div>
</body>
</html>
|
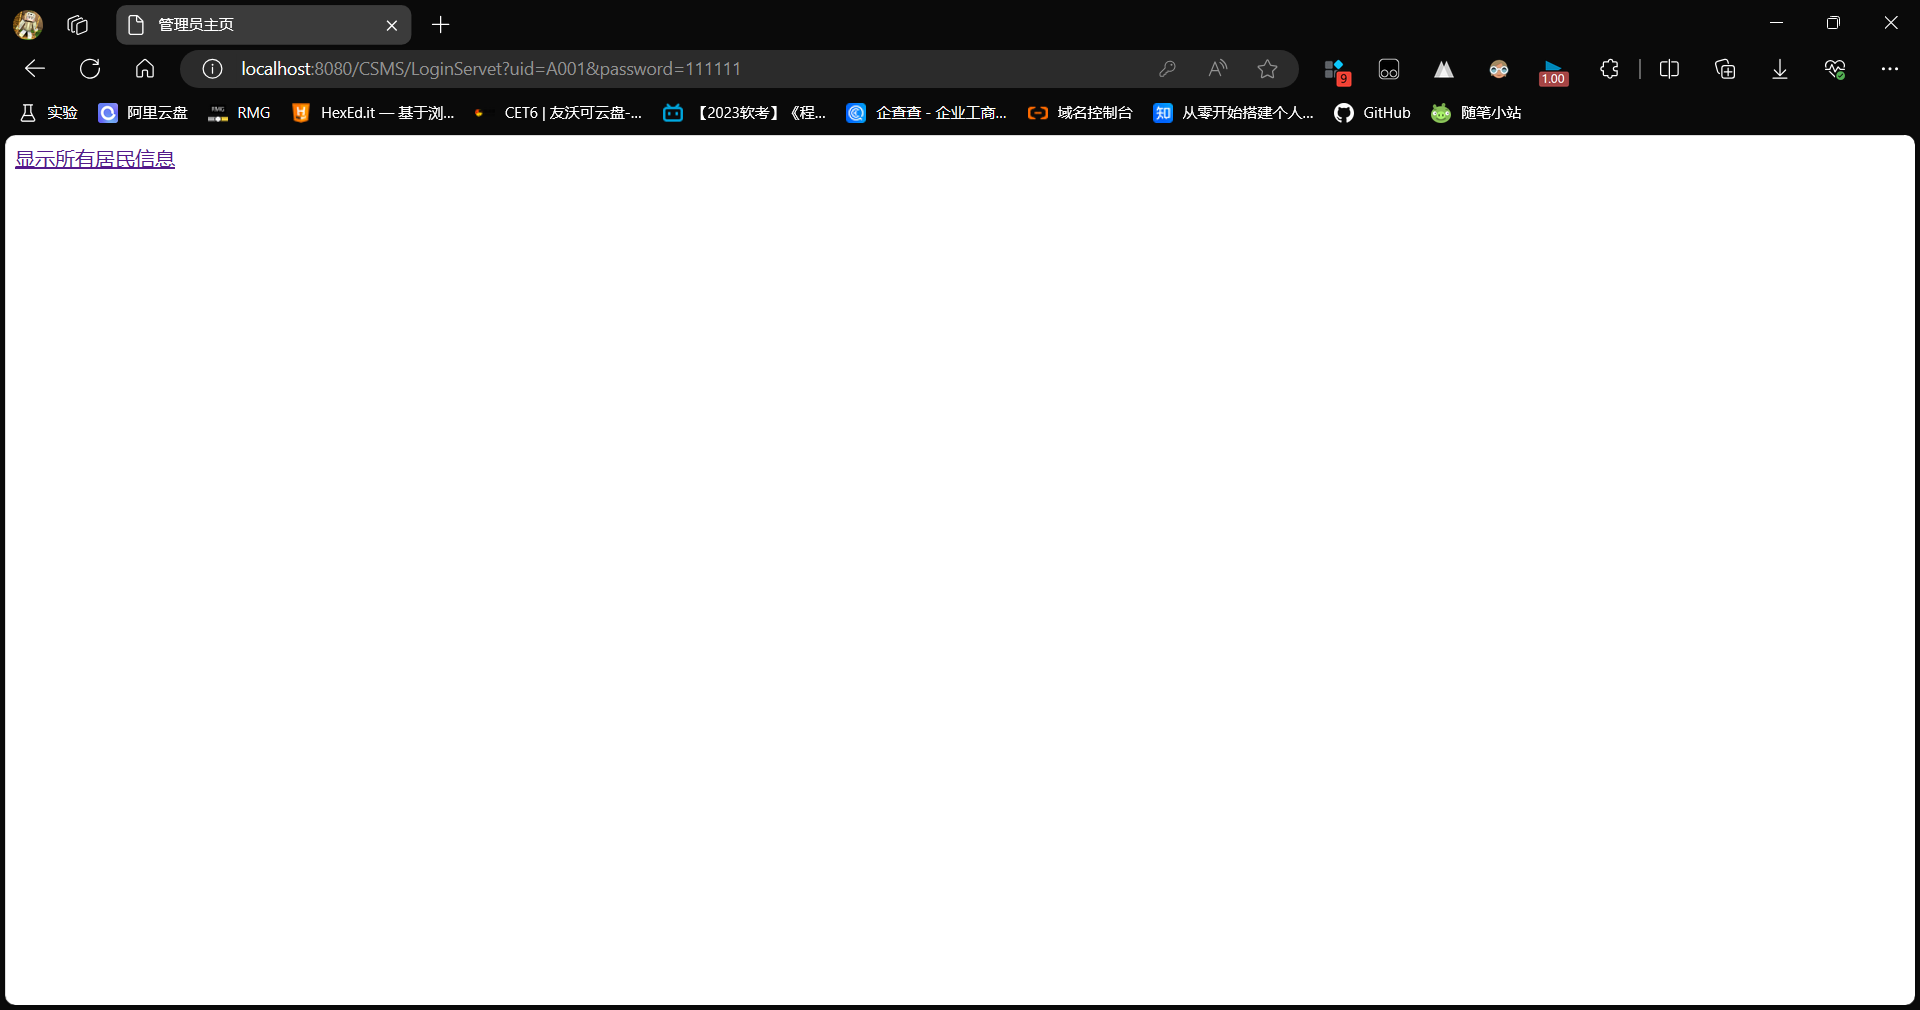
admin.jsp
1
2
3
4
5
6
7
8
9
10
11
12
13
14
15
| <%@ page language="java" contentType="text/html; charset=UTF-8"
pageEncoding="UTF-8"%>
<!DOCTYPE html>
<html>
<head>
<meta charset="UTF-8">
<title>管理员主页</title>
</head>
<body>
<div style="display: flex; flex-direction: column; justify-content: space-between;">
<a href="db/check_all_user.jsp">显示所有居民信息</a>
</div>
</body>
</html>
|
user.jsp
1
2
3
4
5
6
7
8
9
10
11
12
| <%@ page language="java" contentType="text/html; charset=UTF-8"
pageEncoding="UTF-8"%>
<!DOCTYPE html>
<html>
<head>
<meta charset="UTF-8">
<title>用户主页</title>
</head>
<body>
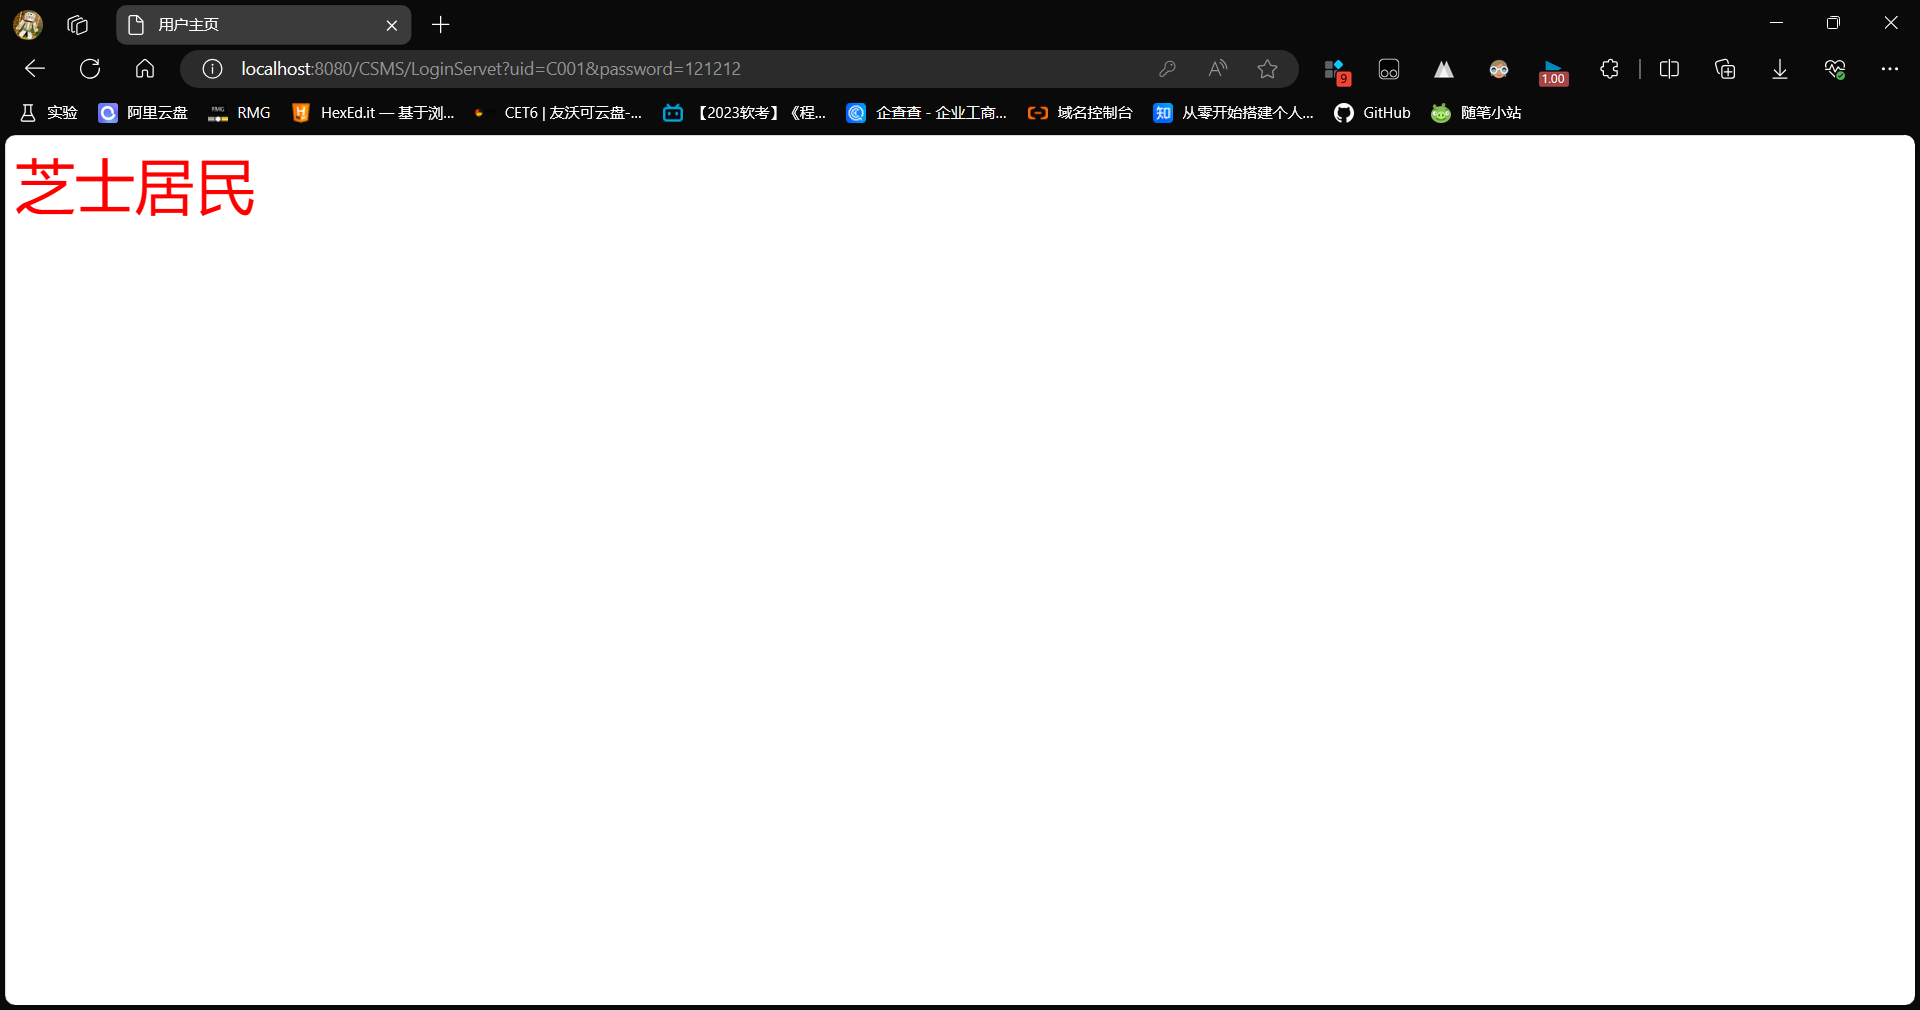
<font color="red" size="24">芝士居民</font>
</body>
</html>
|
check_all_user.jsp
(7月26日:稍微修改了HTML代码的规范性,使其符合新版本;以及Java部分规范异常处理和剔除冗余量。)
1
2
3
4
5
6
7
8
9
10
11
12
13
14
15
16
17
18
19
20
21
22
23
24
25
26
27
28
29
30
31
32
33
34
35
36
37
38
39
40
41
42
43
44
45
46
47
48
49
50
51
52
53
54
55
56
57
58
59
60
61
62
63
64
65
66
67
68
69
70
71
72
73
74
75
76
| <%@ page language="java" contentType="text/html; charset=UTF-8"
pageEncoding="UTF-8"%>
<%@ page import="java.sql.*" %>
<%@ page import="static com.italycalibur.utils.DButil.close" %>
<%@ page import="static com.italycalibur.utils.DButil.getcon" %>
<!DOCTYPE html>
<html>
<head>
<meta charset="UTF-8">
<title>所有用户信息</title>
</head>
<body>
<h3 style="text-align: center">丽景社区所有居民信息</h3>
<div style="text-align: center;">
<table style="margin: auto; border: 2px black solid">
<tr style="border: 2px black solid">
<th style="border: 2px black solid">居民用户编号</th>
<th style="border: 2px black solid">居民用户名称</th>
<th style="border: 2px black solid">居民用户密码</th>
<th style="border: 2px black solid">楼栋号</th>
<th style="border: 2px black solid">楼层号</th>
<th style="border: 2px black solid">房间号</th>
</tr>
<%
Connection conn = null;
PreparedStatement ps = null;
ResultSet rs = null;
String uid;
String uname;
String upassword;
int ubuilding;
int ufloor;
int uroom;
try {
conn = getcon();
String sql = "select uid,name,password,building, floor, room from user where type=1";
ps = conn.prepareStatement(sql);
rs = ps.executeQuery();
while (rs.next()) {
uid = rs.getString("uid");
uname = rs.getString("name");
upassword = rs.getString("password");
ubuilding = rs.getInt("building");
ufloor = rs.getInt("floor");
uroom = rs.getInt("room");
%>
<tr style="border: 2px black solid">
<td style="border: 2px black solid"><%=uid%></td>
<td style="border: 2px black solid"><%=uname%></td>
<td style="border: 2px black solid"><%=upassword%></td>
<td style="border: 2px black solid"><%=ubuilding%></td>
<td style="border: 2px black solid"><%=ufloor%></td>
<td style="border: 2px black solid"><%=uroom%></td>
</tr>
<%
}
}
catch (SQLException e) {
e.printStackTrace();
}
finally {
try{
close(ps, rs, conn);
} catch (SQLException e){
e.printStackTrace();
}
}
%>
</table>
</div>
</body>
</html>
|
编写Java类
DBUtil.java
项目已经引用了dbutils包和c3p0包,这两个包的作用一个是提供数据库连接的基本操作,省略了Class.forname(jdbc包名)的操作;另一个是存放连接数据库的信息,这样不用每次都要在代码里写MySQL连接地址、用户名和密码,大大减少了代码冗余。但是注意这么做的前提是你只用一个数据库(一般简单的数据库管理系统都只有一个数据库),多个数据库的话可能会有其他配置,这里不细说。
1
2
3
4
5
6
7
8
9
10
11
12
13
14
15
16
17
18
19
20
21
22
23
24
25
26
27
28
29
30
31
32
33
34
35
36
| package com.italycalibur.utils;
import java.sql.Connection;
import java.sql.PreparedStatement;
import java.sql.ResultSet;
import java.sql.SQLException;
import javax.sql.DataSource;
import com.mchange.v2.c3p0.ComboPooledDataSource;
public class DButil {
private static ComboPooledDataSource ds = new ComboPooledDataSource();
public static Connection getcon() throws SQLException {
return ds.getConnection();
}
public static DataSource getDataSource() {
return ds;
}
public static void close(PreparedStatement ps, ResultSet rs, Connection conn) throws SQLException {
if (ps != null) {
ps.close();
}
if (rs != null) {
rs.close();
}
if (conn == null) {
return;
} else {
conn.close();
}
}
}
|
User.java
实体类的创建跟面向对象最开始学习的代码完全一致——1. 根据你创建的表的属性声明变量;2. 创建每个变量对应的get函数(获取对象变量)和set函数(设置对象变量),IDEA和Eclipse都可以输入一个关键字自动帮你生成函数。
1
2
3
4
5
6
7
8
9
10
11
12
13
14
15
16
17
18
19
20
21
22
23
24
25
26
27
28
29
30
31
32
33
34
35
36
37
38
39
40
41
42
43
44
45
46
47
48
49
50
51
52
53
54
55
56
57
58
59
60
61
62
63
64
65
66
67
68
69
| package com.italycalibur.model;
public class User {
private String userID;
private String userName;
private String password;
private int building;
private int floor;
private int room;
private int userType;
public String getUserID() {
return userID;
}
public void setUserID(String userID) {
this.userID = userID;
}
public String getUserName() {
return userName;
}
public void setUserName(String userName) {
this.userName = userName;
}
public String getPassword() {
return password;
}
public void setPassword(String password) {
this.password = password;
}
public int getBuilding() {
return building;
}
public void setBuilding(int building) {
this.building = building;
}
public int getFloor() {
return floor;
}
public void setFloor(int floor) {
this.floor = floor;
}
public int getRoom() {
return room;
}
public void setRoom(int room) {
this.room = room;
}
public int getUserType() {
return userType;
}
public void setUserType(int userType) {
this.userType = userType;
}
}
|
UserDao.java
数据交互类,需要引用实体层的类和sql包的函数,里面就是编写一些交互操作,这里就是把登录操作写了进去。
1
2
3
4
5
6
7
8
9
10
11
12
13
14
15
16
17
18
19
20
21
22
23
24
25
26
27
28
29
30
31
32
33
34
35
36
37
38
39
40
41
42
43
44
45
46
47
48
49
50
51
52
53
54
55
| package com.italycalibur.dao;
import java.sql.Connection;
import java.sql.PreparedStatement;
import java.sql.ResultSet;
import com.italycalibur.model.User;
import com.italycalibur.utils.DButil;
public class UserDao {
public static int type;
public User login(String userID, String password) {
User u = null;
Connection conn = null;
PreparedStatement ps = null;
ResultSet rs = null;
try {
conn = DButil.getcon();
String sql = "select * from user where uid=? and password=?";
ps = (PreparedStatement) conn.prepareStatement(sql);
ps.setString(1, userID);
ps.setString(2, password);
rs = ps.executeQuery();
if (rs.next()) {
u = new User();
u.setUserID(rs.getString(1));
u.setPassword(rs.getString(3));
if (rs.getInt(7) == 0) {
System.out.println("管理员登录成功!");
type = 0;
} else if (rs.getInt(7) == 1) {
System.out.println("用户登录成功!");
type = 1;
} else {
System.out.println("用户类型错误!");
}
} else {
System.out.println("用户编号或者密码错误!");
}
} catch (Exception e) {
e.printStackTrace();
}
return u;
}
}
|
LoginServlet.java
这是关于登录操作的servlet包,负责对登录页面中登录按钮的操作响应。
1
2
3
4
5
6
7
8
9
10
11
12
13
14
15
16
17
18
19
20
21
22
23
24
25
26
27
28
29
30
31
32
33
34
35
36
37
38
39
40
41
42
43
| package com.italycalibur.servlet;
import java.io.IOException;
import javax.servlet.ServletException;
import javax.servlet.http.HttpServlet;
import javax.servlet.http.HttpServletRequest;
import javax.servlet.http.HttpServletResponse;
import javax.servlet.http.HttpSession;
import com.italycalibur.dao.UserDao;
import com.italycalibur.model.User;
public class LoginServlet extends HttpServlet {
@Override
protected void doGet(HttpServletRequest req, HttpServletResponse resp) throws ServletException, IOException {
HttpSession session = req.getSession();
String id = req.getParameter("uid");
String pwd = req.getParameter("password");
UserDao userDao = new UserDao();
User user = (User) userDao.login(id, pwd);
if (user != null) {
session.setAttribute(id, user);
if (userDao.type == 0) {
req.getRequestDispatcher("admin/admin.jsp").forward(req, resp);
} else if (userDao.type == 1) {
req.getRequestDispatcher("user/user.jsp").forward(req, resp);
} else {
req.getRequestDispatcher("login/failed.jsp").forward(req, resp);
}
} else {
req.getRequestDispatcher("login/failed.jsp").forward(req, resp);
}
}
@Override
protected void doPost(HttpServletRequest req, HttpServletResponse resp) throws ServletException, IOException {
doGet(req, resp);
}
}
|
修改web.xml
为了让我们一启动tomcat就能显示登陆页面,我们需要设置web.xml的内容。自动生成的文件默认打开主页为index.jsp,并且没有servlet的声明,没有这个声明就无法使用servlet类的功能。
1
2
3
4
5
6
7
8
9
10
11
12
13
14
15
16
17
18
19
20
21
| <?xml version="1.0" encoding="UTF-8"?>
<web-app xmlns:xsi="http://www.w3.org/2001/XMLSchema-instance"
xmlns="http://xmlns.jcp.org/xml/ns/javaee"
xsi:schemaLocation="http://xmlns.jcp.org/xml/ns/javaee
http://xmlns.jcp.org/xml/ns/javaee/web-app_4_0.xsd"
id="WebApp_ID"
version="4.0"
metadata-complete="false">
<servlet>
<servlet-name>LoginServet</servlet-name>
<servlet-class>com.italycalibur.servlet.LoginServlet</servlet-class>
</servlet>
<servlet-mapping>
<servlet-name>LoginServet</servlet-name>
<url-pattern>/LoginServet</url-pattern>
</servlet-mapping>
<welcome-file-list>
<welcome-file>login/login.jsp</welcome-file>
</welcome-file-list>
</web-app>
|
部署到服务器
因为用到IDEA了,所以之前在Eclipse的服务器配置就不管用了,前面Eclipse转IDEA的教程我直接贴上去了。这里讲IDEA的服务器配置。
在“运行”菜单中找到“编辑配置”(我这里安装了官方汉化插件,这一点确实比Eclipse舒服^-^),点击左上角的“+”,选择Tomcat服务器->本地,右边一栏的名称输入合适的名字(一般都是项目名),服务器一栏的应用程序服务器直接在本地选择服务器文件夹;URL一栏可以默认,但更推荐加上“/项目名”;JRE选择下好的jdk;
有一点要注意,JMX端口号默认是1099,但是我每次运行都提示1099被占用,netstat了后也没找到占用进程(应该是网上很多人说的IDEA自己占用自己),我这里直接改成9099(该端口号建议改大点,不建议从相邻的数字去选,因为好像有一种说法是Windows系统开了Hyper-v后会有一段连续的端口号被征用)。
部署一栏点击“+”,选择外部源将lib的文件加入进去,也可以右键项目名,点击属性创建工件,将lib配置放在工件内,直接导入工件即可。下面的应用程序上下文,一定要跟URL端口号后面一致,不然每次启动服务器都会有404让你血压上涨!
配置完点击应用,再点击运行就可以看效果了。
数据库和表配置
我这里用的数据库shop,是准备练手社区采购管理系统的,登录模块用到的就user表,其格式为:
user(uid, name, passowrd, building, floor, room, type)
其中,uid为用户编号,name为用户名,password为用户密码,building、floor、room是针对居民用户的,分别代表楼栋、楼层和房间编号,type为用户类型(0为管理员,1为居民)。
我为这张表里面添加了两个管理员用户和三个居民用户。
运行效果
登录界面:
管理员用户界面:
查询全部居民信息界面:

居民用户界面:
登录失败界面: